Request a quotation
If the instrument has never been calibrated at our calibration centre, register your instrument when requesting a quotation.
If you have already registered and calibrated the instrument at our calibration centre, request a quotation using the short form.
| Temperature
Sector Manager: Fabio Rinaldi
Bovisa Campus
Via Lambruschini, 4a
20156 - Milano
Telefono: 02.2399.9253/9239
Mail: taratura@polimi.it
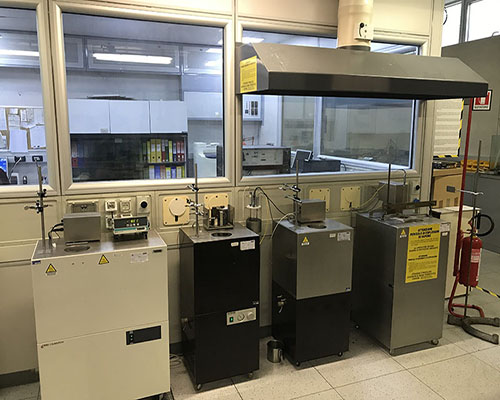
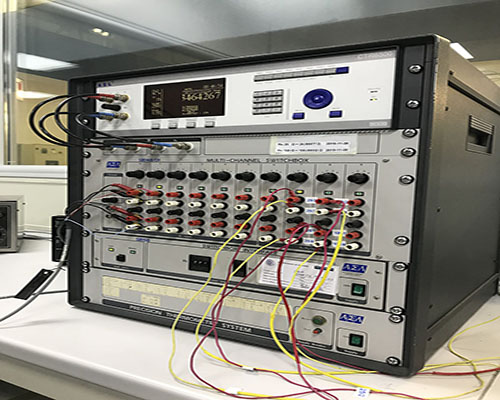
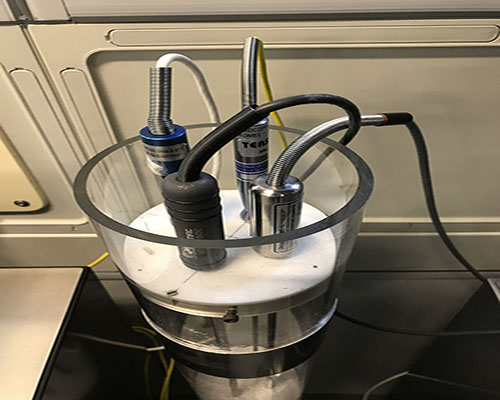
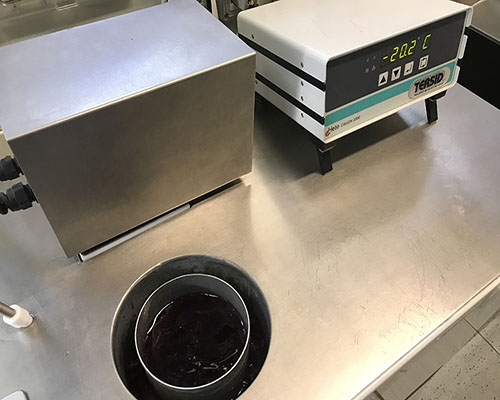
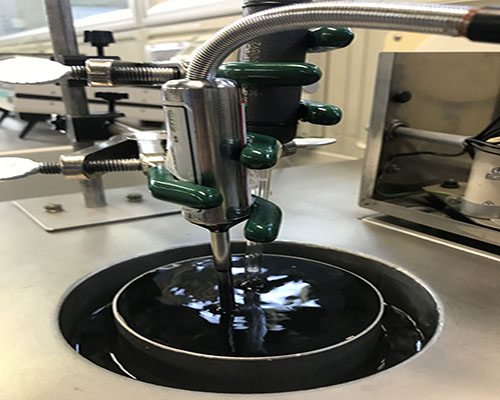
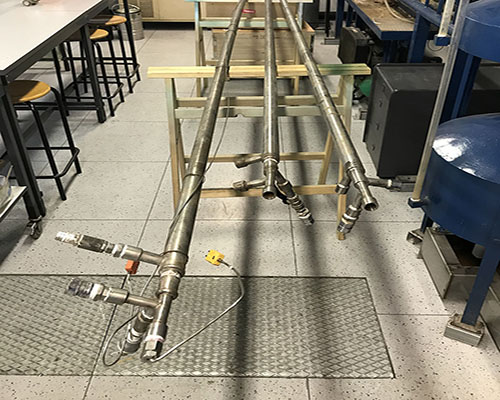
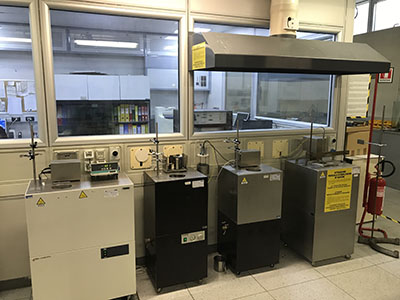
The sector performs calibration by comparing the main temperature meters. In particular, calibration is applied to thermocouples, resistance thermometers, liquid glass thermometers and thermometric chains with indicators and transmitters combined with thermocouples/resistance thermometers.
THERMOCOUPLES
| Instruments in calibration | Measuring | Conditions | Measuring range | Uncertainty | Method/Procedure |
| Noble metal thermocouples | Temperature | n.a. | from -50 °C to °C | 0,50 °C | Internal method. Calibration by direct comparison with sample temperature |
| from 0 °C to 550 °C | 0,40 °C | ||||
| from 650 °C to 1100°C | 1,20 °C | ||||
| Base metal thermocouples | n.a. | from -80 °C to 250 °C | 0,50 °C | ||
| from 250 °C to 550 °C | 0,52 °C | ||||
| from 650 °C to 1100 °C | 1,6 °C | ||||
| Certificate delivery time: 20 working days from the execution of the measurements | |||||
RESISTANCE THERMOMETERS
| Instruments in calibration | Measuring | Conditions | Measuring range | Uncertainty | Method/Procedure |
| Resistance thermometers | Temperature | n.a. | from -80 °C to 250 °C | 0,05 °C | Internal method. Calibration by direct comparison with sample temperature |
| from 250 °C to 550 °C | 0,10 °C | ||||
| Certificate delivery time: 20 working days from the execution of the measurements | |||||
THERMOMETRIC CHAINS (indicators and transmitters)
| Instruments in calibration | Measuring | Conditions | Measuring range | Uncertainty1 | Method/Procedure | |
| U1 | U2 | |||||
| Thermometric chains (temperature indicators and transmitters) with noble metal thermocouples | Temperature | n.a. | from -50 °C to 0°C | 0,25 °C | Uris | Internal method. Calibration by direct comparison with sample temperature |
| from 0 °C to 550 °C | 0,20 °C | Uris | ||||
| from 650 °C to 1100°C | 0,60 °C | Uris | ||||
| Thermometric chains (temperature indicators and transmitters) with base metal thermocouples | n.a. | from -80 °C to 250 °C | 0,25 °C | Uris | ||
| from 250 °C to 550 °C | 0,26 °C | Uris | ||||
| from 650 °C to 1100 °C | 0,80 °C | Uris | ||||
| Thermometric chains (temperature indicators and transmitters) with resistance thermometers | n.a. | from -80 °C to 250 °C | 0,025 °C | Uris | ||
| from 250 °C to 550 °C | 0,05 °C | Uris | ||||
| Certificate delivery time: 20 working days from the execution of the measurements | ||||||
| 1) The measurement uncertainty value is obtained by adding in quadrature the indicated values of the two components (2 √ (〖"U" _ "1"〗 ^ "2" "+" 〖"U" _ "2"〗 ^ " 2 "), where uris indicates the standard uncertainty due to the resolution of the instrument being calibrated, expressed in °C. | ||||||
CATENE TERMOTHERMOMETRIC CHAINS INSTALLED IN INDUSTRIAL STEAM GENERATORS
| Instruments in calibration | Measuring | Conditions | Measuring range | Uncertainty1 | Method/Procedure | |
| U1 | U2 | |||||
| Thermometric chains | Temperature | Installation in industrial steam generators | from 650 °C to 1100°C | 1,50 °C | Uamb | Internal method. Calibration by direct comparison with sample temperature |
| Certificate delivery time: 20 working days from the execution of the measurements | ||||||
| 1) The measurement uncertainty value is obtained by adding in quadrature the indicated values of the two components (2√ (〖"U" _ "1"〗 ^ "2" "+" 〖"U" _ "2"〗 ^ "2 "), where uAamb (expressed in °C) indicates the standard uncertainty of the uncertainty contributions due to repeatability, to the positioning of the pyrometer with respect to the chain being calibrated, to the temperature gradient inside the post-combustion chamber, to the room temperature, and to the combined effects of convection and radiation. | ||||||
| 1) For thermometric chains, in the case of indicators with several thermoelements, for each thermoelement subsequent to the first one calibrated in the same points, a reduction of 50% on the indicated rate is applied. This condition cannot be combined with other forms of discount provided for internal structures. |
| 2) Negative measuring ranges from 1 to 2 calibration points are only performed in conjunction with positive temperature ranges. |
| 3) For the thermometric chains, the resolution of the indicator instrument being calibrated (in the case of indicator + probe) or the accuracy of the instrument (in the case of transmitters + probe) is added to this uncertainty; for liquid glass thermometers, the D factor indicates the value of the division in ° C. |
| 4) A fee of € 50 is applied to each additional measurement point requested. For the tabulation of the results (in the case of thermocouples and resistance thermometers), the following additional cost is applied:o: |
| With 1 °C interval |
| With 0.1 °C interval |
| 5) Depending on the number of sensors/thermometers to be calibrated, a discount may be applied, to be agreed with the Sector Manager |
